
Have you ever tried turning a tiny rose seed into a flourishing bush? Believe it or not, it’s not as complicated as it may seem – fascinating! In this guide, we’ll walk you through the enchanting process of growing roses from seeds right in the comfort of your home. Let’s dive into the world of rose cultivation, where every source promises a unique and beautiful bloom.
The Seed Shopping Spree: A Garden of Possibilities
You can kickstart your rose-growing journey by purchasing seeds of modern rose varieties or hybrids, such as the charming floribunda. However, a word of caution – even if you buy seeds from the same packet, there’s no guarantee that you’ll end up with identical bushes. Being the rebels, Roses often produce unique plants, even from seeds of the same fruit, boasting unconventional colors or bud shapes. Embrace the unpredictability – who knows, you might cultivate the most extraordinary rose in your neighborhood!
What You'll Need for growing roses from seed
Before you embark on your rose-growing venture, gather the necessary tools:
- Rose seeds (either purchased or self-harvested)
- Sharp knife
- Sieve
- Tray
- Cotton pads
- Plastic bags
- 3% hydrogen peroxide
- Lightweight, fertile soil
- Small containers (for seedlings)

Harvesting and Handling: The Art of Selecting Rose Seeds
Choose berries with a subtle blush from late summer to mid-fall – the seeds should be slightly underripe for optimal germination. However, remember that some rose varieties keep their berries green even when fully mature. Cut the berries in half, extract the seeds, and separate them from the pulp, as it may hinder germination.
Spa Day for Seeds: Treat Rose Seeds Gently
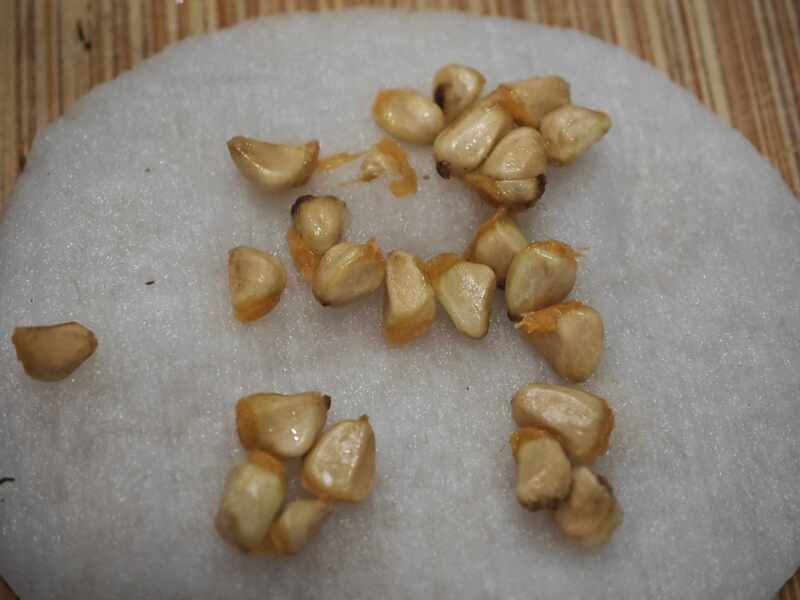
Give your rose seeds a spa treatment to keep them in the best condition possible. Place the seeds in a sieve and immerse them in a bath of 3% hydrogen peroxide solution for 20 minutes. This step is necessary to sanitize the seeds. After that, spread them on cotton disks moistened with hydrogen peroxide and cover them with another disk moistened with hydrogen peroxide.
Place the cotton discs with the seeds in individual plastic bags, label them with the rose variety, and leave them to cold stratify in the refrigerator’s vegetable compartment.
Germination secrets: Germination and stratification
During stratification, check the seeds regularly for signs of mold. If you find mold, repeat the hydrogen peroxide treatment and transfer the seeds to new cotton pads. Most commercial rose seeds, especially polyanthus and Chinese roses, do not require additional treatment as the growers usually perform this step. However, stratification is necessary because it is unknown how long the seeds have been outside the berries.
Sowing growth seeds: Planting rose seeds
After 1.5 to 2 months, the seeds should begin germinating, which is a moment that is best not missed. Take the germinated seeds out of the refrigerator and sow them in light, moist soil containers. For this purpose, you can use specialized soil for roses or peat pellets. Before sowing, it is advisable to water the soil with a fungicide solution to prevent possible diseases.
Important points for growing roses from seed
Selecting the Right Soil:
The choice of soil is paramount in ensuring the success of your rose seeds. Opt for a well-draining mix rich in organic matter. A peat, perlite, and vermiculite blend provides an excellent foundation for rose seedlings. Fill your seed trays or pots with this mixture, leaving space at the top for easy watering.
2. Sowing the Seeds:
Aim for a depth of approximately 1/4 inch (0.6 cm) when sowing the seeds. Gently press the soil to ensure good seed-to-soil contact. If using seed trays, maintain a distance of at least 2 inches (5 cm) between each seed. This provides ample space for the emerging seedlings.
3. Cover and Provide
Moisture: Cover the seeds with a thin layer of soil or vermiculite after sowing. Cover the trays with plastic wrap or use a humidity dome to maintain a consistently moist environment. Keep the soil temperature around 70°F (21°C) to encourage optimal germination.
4. Patience and Monitoring:
Germination time can vary, but on average, you can expect to see the first signs of sprouting within 10 to 21 days. Exercise patience and resist the temptation to disturb the seeds during this critical phase. Once the seedlings have developed true leaves, they can be transplanted into individual pots.
Gentle care: Care of rose seedlings
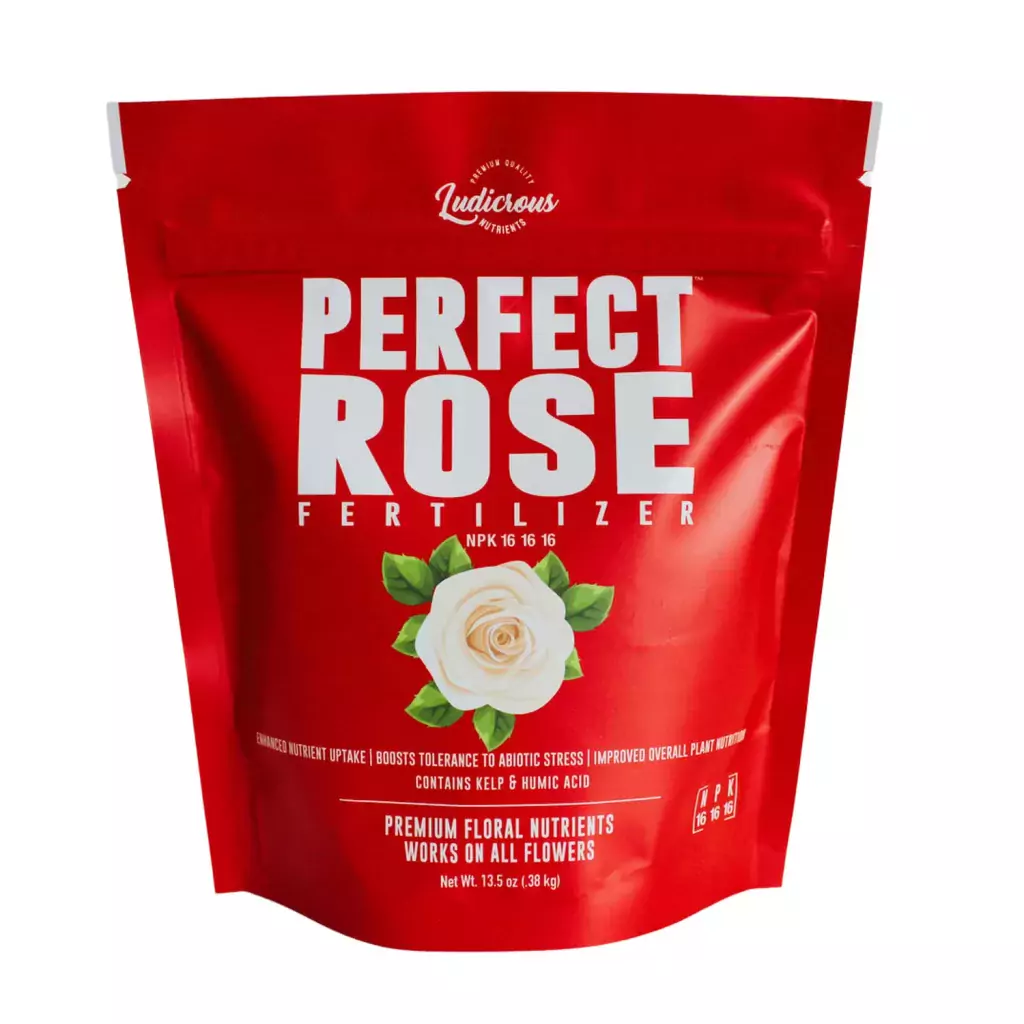
For optimal development of rose seedlings during the winter, provide them with a 10-hour day using artificial light. This will ensure that they get enough light. After 2-3 weeks of growth, feed the seedlings with diluted Perfect Rose fertilizer or any liquid humic fertilizer, halving the recommended dose due to their fragility. When the seedlings have a few true leaves, gradually accustom them to cooler temperatures by exposing them to the open air for short periods of 2-3 weeks.
Growing and moving: Transplanting rose seedlings
As the seedlings grow, it may be necessary to transplant them into larger containers. Remember that containers should be larger, but not excessively so. In the spring, with the onset of warm days (usually late May), young roses can be transplanted into the garden. Shade the plants for the first few days to help them settle into their new location.
Flowering on the horizon: Caring for home-grown roses
Caring for roses grown from seed is similar to caring for seedlings. Regular watering, mulching, and feeding are necessary. Before the onset of winter, they should be dipped and covered with several layers of spun-bond, even if you have chosen winter-hardy varieties.
Young rose bushes, however resilient they may be, need extra protection during the first winter.
FAQ
Yes, you read that right! It’s the circle of floral life. If you’ve ever held a beautiful rose in your hands and thought, “I wish I could clone you,” well, you can – in a way. Growing a rose plant from a rose flower involves collecting seeds from the spent blooms. It’s like giving those petals a second chance at life.
It might sound like a trick question, but rest assured, roses do indeed grow seeds. It’s like nature’s way of saying, “Here’s a little gift; now go create some floral magic.” The real trick lies in coaxing those seeds to wake up and join the blooming party. It’s a bit like convincing a teenager to get out of bed on a Saturday morning – patience and a gentle nudge are key.
Growing roses from seeds is not your average sprint; it’s a marathon. If you’re expecting overnight miracles, you might be in for a surprise. On average, it takes about 2 to 3 years for a rose to sprout from a seed and flaunt its first bloom. Now, don’t let that discourage you – good things come to those who wait, and in the case of roses, it’s a breathtaking bouquet!
Growing roses from seeds requires dedication and patience. While not overly difficult, it demands attention to detail, adherence to proper germination techniques, and ongoing care throughout the plant’s life cycle. Novice gardeners may find it helpful to start with more straightforward varieties before attempting more challenging ones.
From seed to splendor - your rose odyssey
Have you ever tried growing roses from seed at home? Share your experiences, triumphs, and maybe a few funny anecdotes in the comments below. Growing roses from seed is not just gardening; it’s a journey full of surprises, experimentation, and the joy of watching your garden blossom into a tapestry of unique and beautiful roses. Happy gardening!
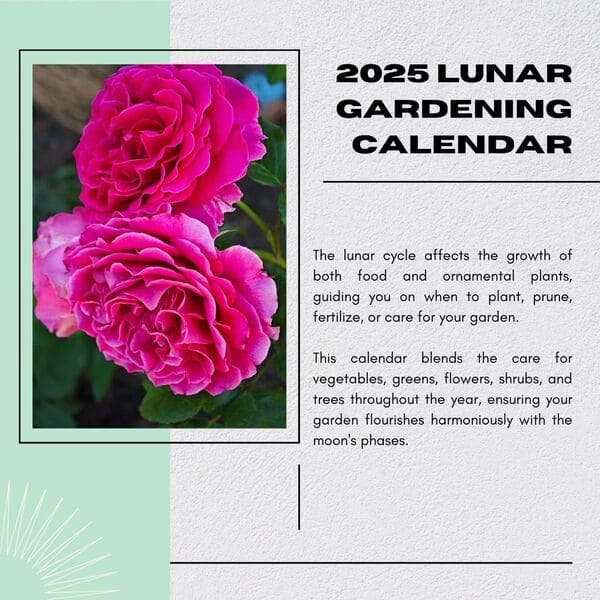
Get Your Free Lunar Gardener's Calendar 2025!
Join the Lunar Gardening Revolution! Subscribe now to receive our exclusive Free Lunar Gardener’s Calendar for 2025. Harness the power of the moon to optimize your planting, nurturing, and harvesting.