Last Updated: September 19, 2025
Growing roses from cuttings is a simple, rewarding method that allows you to propagate healthy, self-rooted roses at home. To succeed, cut healthy stems, apply rooting hormone, plant in breathable soil, maintain humidity, and be patient. With proper care, cuttings will develop strong roots and flourish.
Key Takeaways
Self-rooted roses from cuttings are durable and free of graft suckers.
Best timing: late summer
Success formula: clean cuts + rooting hormone + airy medium + stable humidity.
Keep cuttings in bright, indirect light; transplant early once roots form to minimize damage.
Common fixes: raise humidity, reduce direct sun, refresh cuttings if no roots after 4–6 weeks.
In this guide, I’ll share my journey and tips on successfully growing roses from cuttings, transforming a simple stem into a flourishing rosebush.
The Benefits of Self-Rooted Roses
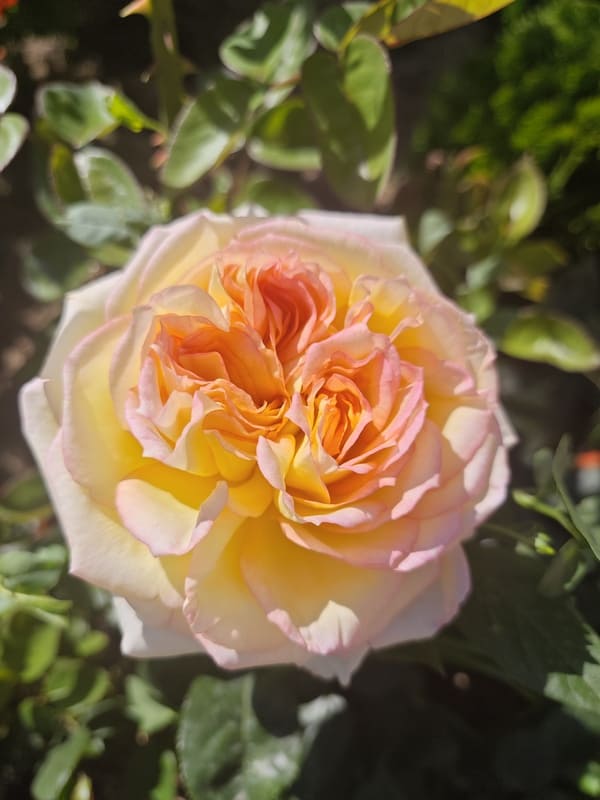
I remember the first time I decided to grow roses from cuttings. The thought of creating a self-rooted rose, which doesn’t produce wild shoots and adapts better to local conditions, was incredibly appealing. Unlike grafted roses, self-rooted roses are more durable and can thrive in various soil types. This method is particularly beneficial in regions with less harsh climates, like my garden near Moscow, where native roots can flourish beautifully.
When Is The Best Time To Take Rose Cuttings for Growing Roses from Cuttings?
Timing is crucial when it comes to taking rose cuttings. I learned that the best period is from the complete formation of the bud to the end of flowering, usually in July. Taking cuttings too early means the wood needs to mature more, while cutting too late means the buds will start to open, diverting nutrients away from rooting. To maximize success, I cut my rose cuttings in the early morning when the plant tissues are rich in water, ensuring better hydration for the cuttings.
Best Time for Rose Cuttings: According to experts at GardenTech, the ideal time depends on stem maturity: softwood cuttings in late spring–early summer, semi-hardwood in late summer–fall, and hardwood in late fall–winter, during dormancy.
How To Cut and Root Rose Cuttings for Successful Growing from Cuttings
Stage One: Pruning and Rooting
Step 1: Prune the Rose Stem
I carefully selected a healthy rose stem and cut it into sections. Each section, or cutting, should be about two internodes long, meaning each piece of stem has two to three leaves.
Choose Healthy Stems: Select stems that are healthy and free from diseases to increase the chances of successful rooting.

Garden tips
Always take cuttings from a rose stem that has finished flowering. Stems that have just bloomed are more mature and better prepared for rooting, giving your cutting a stronger chance to develop healthy roots quickly.
Step 2: Make the Bottom Cut
The next step is to make a precise cut below a bud where the leaf ends. This cut should be made with a sharp knife to prevent contamination of the plant tissues.

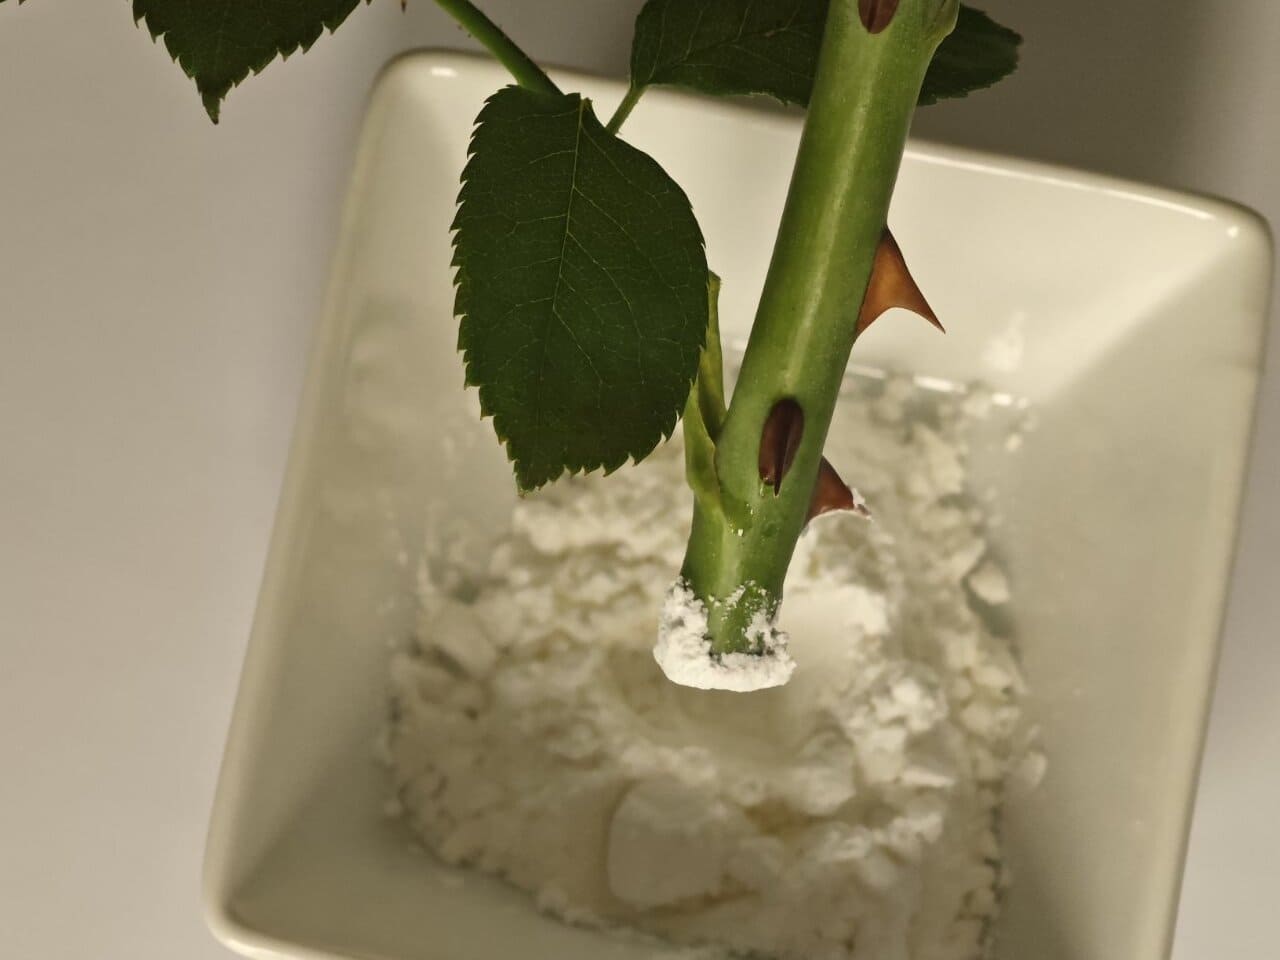
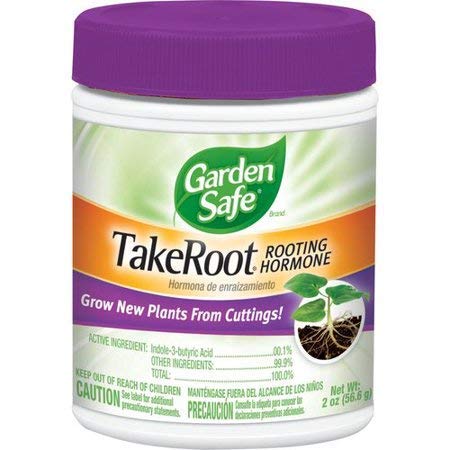
Step 3: Apply Growth Stimulator
To encourage root growth, I dipped the cut end of the stem into a growth stimulator powder. This step is essential as it promotes active root formation, giving the cutting a better chance to thrive.
Step 4: Plant the Cutting
The cutting is then inserted into a substrate that is both moisture-absorbing and breathable. After planting, I covered the cuttings with a thin film in a shaded garden area, ensuring there were no holes to retain the necessary moisture. Daily spraying with water before and after covering helped maintain optimal humidity levels.
Stage Two: Transplanting the Sprouted Cutting
Step 5: Transplant to a Larger Container
As the cuttings began to sprout roots, it was time to move them to a larger “house.” Early transplantation is vital since small roots are more adaptable and less likely to be damaged.
Step 6: Handle with Care
During transplantation, handling the delicate roots with extreme care is crucial. Even the slightest damage can be detrimental to the cutting’s development.
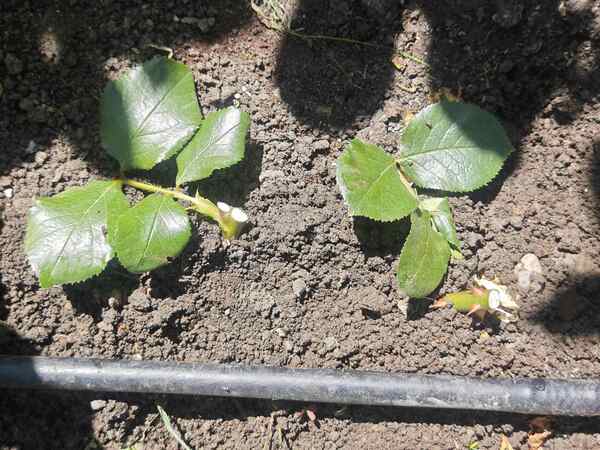
Step 7: Plant in Fertile Soil and Water
I planted the sprouted cuttings in fertile soil, ensuring they had enough nutrients to grow strong by autumn. Watering them abundantly helped establish the roots in their new environment.
Rose gardening books


Step into a calmer, more confident rose season. With Ann Devis’s rose gardening books and planner, you’ll get simple organic routines, proven tips, and checklists that keep your roses thriving – from first bud to last bloom.

💡 Personal Pro Tips for Growing Roses from Cuttings
Over the years, I’ve discovered some unique techniques that significantly improve the success rate of rose cuttings. I encourage you to try them in your garden:
Plant Near the Mother Rose
Rose cuttings tend to root better when planted near the mother plant. The soil’s biota and micro-environment are familiar to the cutting, reducing stress and boosting survival rates. I always call these cuttings the “babies” of the mother plant, and they consistently thrive when grown nearby. This is the case when you propagate your rose, and not a brought cutting.
Choose a Partially Shaded Spot
The best location for rose cuttings is a spot with dappled sunlight. Let the morning sun touch the cutting, but ensure there is afternoon shade to protect it from scorching. Young cuttings without established roots are very sensitive to dehydration.
Plant at a Sharp Angle
I always plant cuttings at a 45-degree angle or more — almost horizontally — leaving only the top leaf above the soil surface. The remaining two buds should be fully buried. I also removed the lower leaves and slightly trimmed the top leaf to reduce water loss.

I planted a cutting of this little one (Laurent Cabrol rose) in the middle of last summer, and now, this year, it has been delighting me with its blooms. It has grown into a beautiful, neat bush.
Garden tips
Be Patient: Rooting can take time. Patience is essential, as rushing the process can harm the delicate cuttings.
Maintain Humidity:
Keeping the cuttings in a humid environment is critical. Regular misting and proper covering helped retain the necessary moisture.
Common Rose Cutting Problems & Solutions
Many of my readers asked me to continue this topic and share more about the common problems they face when propagating roses from cuttings. Let’s explore the most frequent issues and how to solve them step by step.
Problem 1: Mold or Fungal Growth (White, Grey, or Black Spots)
Why it Happens:
Excessive moisture, inadequate air circulation, or the use of contaminated tools can lead to mold or fungal spots on cuttings. Watch for white fuzz, black spots, or slimy stems.
Solution:
- Act Fast: Remove and discard affected cuttings immediately.
- Prevention Tips:
- Always use clean, sterilized tools.
- Improve air circulation by slightly opening plastic covers.
- Water the plants carefully—keep the soil moist but not soggy.
- Consider applying a gentle fungicide to protect cuttings.
Problem 2: Pest Infestations (Aphids, Spider Mites, Fungus Gnats)
Why it Happens:
Tender rose cuttings are susceptible to small pests, including aphids, spider mites, and fungus gnats, which can damage the cuttings and spread disease.
🌿 Solution:
- Immediate Action: Spray with neem oil or insecticidal soap.
- Prevention Tips:
- Inspect your cuttings regularly.
- Avoid overwatering to prevent fungus gnats.
- Keep the propagation area clean and free from pests.
Problem 3: No Rooting After 3-4 Weeks
Why it Happens:
Cuttings may fail to root if the stem is too old, humidity is too low, temperatures are not warm enough, or rooting hormone isn’t used.
🌿 Solution:
- Try again using fresh, green, or semi-hardwood cuttings.
- Use rooting hormone to boost success.
- Maintain high humidity by covering cuttings with a plastic dome or bag.
- Maintain a warm environment (70°F–75°F / 21 °C–24°C).
- Be patient—some cuttings need up to 6 weeks to root.
Why Rose Cuttings Wilt After 10 Days
Common Causes:
- No root formation yet—cuttings need 2-4 weeks to root.
- Humidity levels are too low.
- Overwatering or underwatering.
- Poor cutting selection (weak or diseased stem).
- Too much direct sunlight.
🌿 What to Do:
- Check for Roots: Gently tug the cutting. If it resists, roots may be forming.
- Increase Humidity: Cover the cutting with a clear plastic bag or mini greenhouse, but avoid direct leaf contact.
- Proper Watering: Keep the soil moist, mist cuttings daily, but avoid overwatering.
- Adjust Lighting: Provide bright, indirect light—never direct sunlight.
- Trim Wilted Leaves: Remove yellowing or drooping leaves to reduce stress on the plant.
- Be Patient: If the stem is green and firm, your cutting is still alive—don’t give up!
💬 Do You Have More Questions?
I love hearing from you! Feel free to ask questions in the comments or reach out to me on Instagram or Facebook. I’d be happy to help you troubleshoot and celebrate your rose-growing successes!
Let's grow new roses
There’s a unique satisfaction in growing roses from cuttings, witnessing their transformation from a simple stem to a blooming rosebush. With the proper techniques and patience, you can enjoy the beauty and fragrance of roses grown with your hands. Whether you’re a seasoned gardener or a beginner, this method offers a delightful and rewarding experience. So, roll up your sleeves, grab your gardening tools, and start growing roses from cuttings. The blooms you nurture will testify to your dedication and love for gardening.
Related Articles: Caring for Your Roses
1. How to Care for Roses in the First Year After Planting
👉 The perfect next step: Learn how to support young roses grown from cuttings, from their first leaves to strong root systems.
➡️ Read more: How to Care for Roses in the First Year
2. How to Water Roses: Best Practices and Timing
👉 Essential knowledge for newly rooted cuttings. Proper watering is critical for healthy growth after planting.
➡️ Read more: How to Water Roses Correctly
3. How to Fertilize Roses: What and When to Feed
👉 Fertilizing is especially important when transplanting cuttings. Discover when and how to nurture young roses for optimal growth and development.
➡️ Read more: How to Fertilize Roses
4. Protecting Roses from Pests and Diseases
👉 Young cuttings are particularly vulnerable. Discover practical tips for safeguarding your roses against common threats.
➡️ Read more: How to Protect Roses from Pests and Diseases
Frequently Asked Questions
The optimal time to take rose cuttings is early spring or late summer when the plant is actively growing. These periods help ensure the cuttings have plenty of energy to root successfully.
First, select healthy, disease-free stems to prepare your rose cuttings. Trim the cutting to about 4-6 inches, remove the lower leaves, and dip the cut end in a rooting hormone.
The essential tools include a clean, sharp pair of pruning shears, a container for the cuttings, rooting hormone, and a well-draining potting mix. These items ensure that your cuttings have the best chance for healthy root development.
Typically, rose cuttings take 4 to 8 weeks to form roots, though this can vary with environmental conditions such as temperature and humidity. Keeping the cuttings in a warm, moist environment is key to speeding up the rooting process.
Both options work well depending on your climate and setup. Many gardeners start their cuttings indoors in a controlled environment, then transplant them outdoors after the roots have developed. This approach minimizes risks from extreme weather conditions.
A well-draining, loamy soil mixed with perlite or sand is ideal for rooting rose cuttings. This mixture ensures proper aeration and moisture retention, which is critical for developing strong roots.
After planting, keep the soil consistently moist but not waterlogged. Place the cuttings in a location with bright, indirect light and avoid direct sunlight until they have established roots. This gradual exposure helps reduce stress and encourages steady growth.
Common pitfalls include using unsterilized tools, overwatering, or taking cuttings from unhealthy plants. Ensuring your materials are clean and selecting vigorous stems is essential for a successful propagation.
Look for signs of new leaf growth and gently tug on the cutting. If you feel resistance, it’s a good indication that roots have developed. Patience is essential; some cuttings might take longer, so monitor them over several weeks.
Certain rose varieties are known for their ease of propagation. Hybrid teas and floribundas, for example, often root more readily than more delicate species. Experimenting with different varieties can help you find the one that works best for your garden.