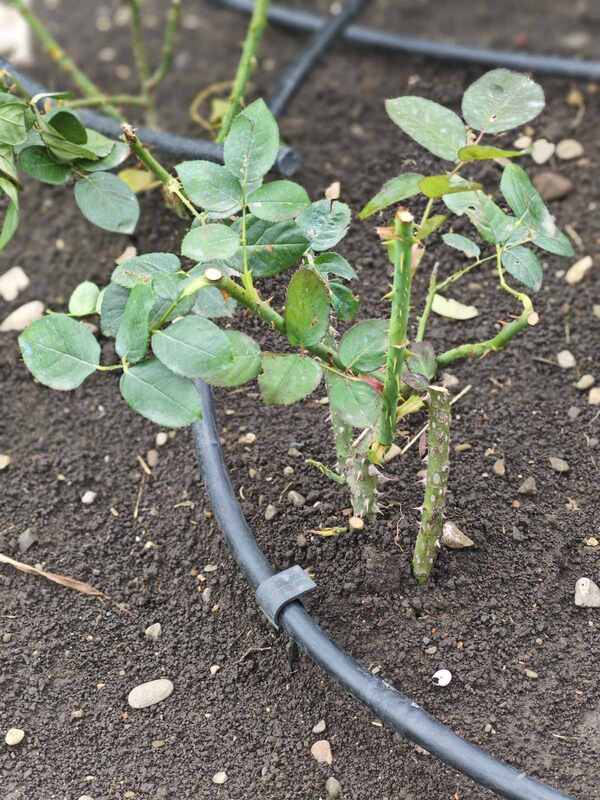
Transplanting rose bushes may feel intimidating, but with the proper preparation and methods, you can safely relocate your roses without damaging the plant. Whether you’re redesigning your garden or simply giving your roses a better home, this guide will walk you through the process, ensuring your roses thrive in their new spot.
Understanding the Best Time for Transplanting
Before starting the transplanting process, it’s crucial to understand the best time to transplant rose bushes. The timing of your transplant plays an essential role and can significantly influence the success of your efforts.

The Ideal Season for Transplanting
The ideal time to move rose bushes is during their dormant period, typically in late winter or early spring, before they grow again. At this stage, the plant is less prone to transplant shock. If you need to move your rose bush during the growing season, try to do so in the early morning or late evening to avoid the day’s heat and ensure the plant is well-watered beforehand.
Understanding the Plant's Dormant Period
The dormant period is when the rose bush is not actively growing, making it less susceptible to damage. Transplanting roses while dormant gives them a head start in their new spot, letting their roots settle in before the demands of blooming and growing kick in. In most regions, the dormant period for roses falls between late autumn and early spring.
Preparing for the Transplant
Preparation is critical to a successful transplant. Properly preparing the plant and the new planting site will ensure your rose bush has the best chance to thrive after the move.
Choosing the Right Location
Roses flourish in well-drained soil and need at least six hours of sunlight daily. When selecting a new location, consider the plant’s sunlight needs and ensure the soil is fertile and well-drained. Avoid areas with heavy clay or sandy soils unless you can amend them with organic matter to improve their quality.
Preparing the New Planting Site
Dig about twice as wide and more profound than the rose bush’s root ball. Thoroughly prepare the planting hole by removing all weed roots, placing drainage material at the bottom, and filling it with fertile soil—compost can be added for extra nutrients. Leave the hole for 2-3 weeks so that the soil can settle before moving your rose bush.
Watering and Pruning
Before transplanting, water the rose bush thoroughly to hydrate the roots. This step is essential, especially if you’re transplanting during the growing season. Additionally, pruning the rose bush by about one-third can reduce the stress on the plant by decreasing the amount of foliage the roots need to support.
Transplanting Your Rose Bush
With everything in place, it’s time to transplant your rose bush. This step-by-step guide will help you move your plant with minimal stress.
Digging Up the Rose Bush
Carefully dig around the base of the rose bush, starting about 12 inches away from the stem. Aim to dig up the rose along the crown projection with the giant possible root ball. Water the soil around the bush thoroughly beforehand, which will help keep the soil intact. If you have a large or sprawling rose, tie the branches with a sturdy rope to make digging easier.
Dig a trench around the bush’s perimeter and gradually deepen until you have a fairly deep ditch. Then, wrap the root ball with fabric or plastic wrap and continue digging under the bush’s base. If long roots prevent you from extracting the root ball, cut them with a sharp shovel. Don’t worry—if you properly care, the roots will regenerate quickly. Just be sure to sprinkle any cut roots with charcoal before planting.
If the bush is vast, place a robust and long object (such as a crowbar) under its base and use it as a lever to lift the plant. Carefully lay the bush on a pre-spread cloth and drag it to the new location. Tie the root ball with twine to prevent it from falling apart.

Get Your Free Lunar Gardener's Calendar 2024!
Join the Lunar Gardening Revolution! Subscribe now to receive our exclusive Free Lunar Gardener’s Calendar for 2024. Harness the power of the moon to optimize your planting, nurturing, and harvesting.
Transporting the Rose Bush
If the rose bush moves a long distance (for example, to another plot), wrap the root ball in moist burlap to keep the roots from drying.
Place the rose in the planting hole so that the soil-covered bush is at the same level as in its previous location. After filling half of the hole with soil, remove the wrapping from the root ball. Then, water the soil thoroughly and wait until the water is absorbed before filling the hole to the brim and watering again. If the soil settles, add more to ensure no air pockets around the rose’s roots.
You’ll need about 1.5-2 buckets of water when transplanting a large rose bush.

Special Considerations for Flowering, Climbing, and Large Rose Bushes
It would help if you sacrificed the flowers that year to transplant a rose during its blooming period. Remove all flowers and buds from the bush. This allows the rose to acclimate to its new location by focusing its energy on root regeneration rather than flower production.
Remove the canes from their support structure when transplanting climbing and vining roses first. For wanderers, keep all canes from the current year and pinch the tips in late August (if transplanting in spring) to help the branches harden. Remove canes older than two years immediately after blooming. For climbers, shorten all long canes by 1/2 or 1/3 to make transporting the plant easier.
While transplanting mature roses is labor-intensive, it is entirely possible. With proper care, your garden’s queen will continue to bloom as beautifully as before.
Aftercare for Transplanted Rose Bushes
The care you provide after transplanting is as vital as the transplanting process. Proper aftercare will help your rose bush recover quickly and thrive in its new location.
Watering and Mulching
Water the transplanted rose bush regularly, especially during the first few weeks after the move. It’s essential to maintain soil moisture without letting it become waterlogged. Apply a mulch layer around the rose bush’s base to help retain moisture, suppress weeds, and regulate soil temperature.

The Organic Rose Revolution: Grow Stunning Blooms, Naturally
- Unlock the secrets of nurturing your roses organically with our guidance on soil health, natural fertilizers, and sustainable pest control methods. Your garden will thrive with eco-friendly care that respects nature’s balance.
- Empower yourself with the knowledge to craft natural remedies for common rose ailments.
- Banish pests from your garden precisely using proven strategies that safeguard your roses without harsh chemicals. Keep aphids, mites, and other invaders at bay while preserving your garden’s natural harmony.
- Explore a world of breathtaking rose varieties carefully curated to captivate your senses and elevate your garden to new heights of beauty.
Monitoring for Stress Signs
Transplanted roses may show signs of stress, such as drooping leaves or slow growth. Keep an eye on your plant, and if you notice these signs, increase watering and ensure it’s not exposed to extreme temperatures. Avoid fertilizing until the rose shows signs of new growth, which can further stress the plant. Water the plant regularly but moderately in the first month after transplanting and provide shade during intense sunlight. In spring and summer, daily spraying of the crown is also recommended. After transplanting, avoid disturbing the roses for several years to allow them to adapt to their new environment.
Bit patience and enjoy
Transplanting rose bushes doesn’t have to be a stressful experience for you or your plants. By choosing the right time, preparing thoroughly, and following careful steps during and after the move, you can successfully relocate your roses and ensure they bloom beautifully in your new home. With patience and attention to detail, your rose bushes will thrive and become a stunning feature in your garden for years.

